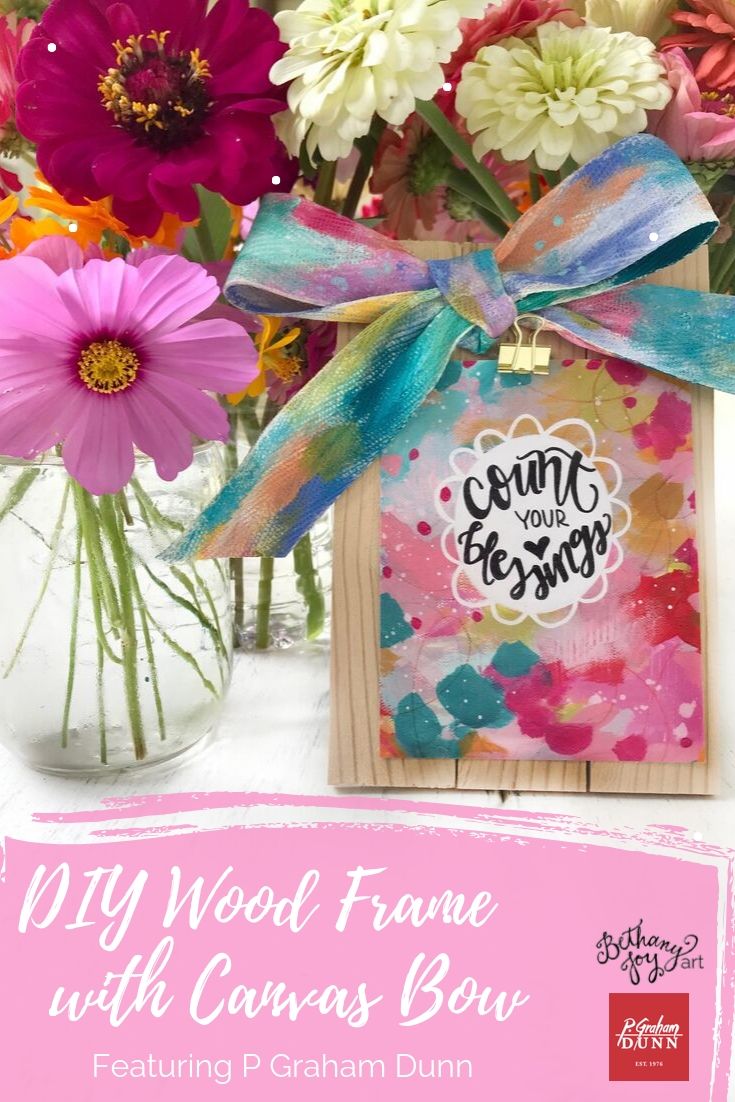
Friends! I’m so excited for today’s blog post because it’s another fun DIY project in collaboration with P Graham Dunn! (Complete with a sweet little quick guide reference at the end of this post as well).

Just in case you haven’t heard me talk about them yet, P Graham Dunn is an amazing company providing us with all our craft decor needs and I love using their blank wood surfaces to create with. They have so many amazing products to choose from, but for this project in particular we’ll be using their 4.5x6.5 inch wood craft sign (pallet style). They actually have several different sizes of their pallet style signs, so you could always modify this project and make it bigger!

Once you’ve gotten your wood craft sign (using the coupon code JOY for 15% off by the way...thanks P Graham Dunn!) you’ll need to gather just a few other things in order to make this super easy and cute frame.
Here’s my supply list:
-Wood craft sign from P Graham Dunn
-Rug bonding ribbon (I bought the canvas color and chose this ribbon because it is a softer material and very close to actual raw canvas in my opinion)
-A variety of acrylic paints (using whatever colors your heart desires)
-A clip (I used a gold binder clip but there’s a ton of other options too, like the one linked here or here)
-Hot glue gun and hot glue sticks
Pictured below is everything you'll need:

Let’s create!
Step by step guide:
1. I began this project by painting my canvas ribbon. I wanted it to be full of color and knew it would be tied into a bow so I made sure to paint both sides. No fancy painting here, just simply layering different colored brush strokes with no particular pattern in mind. Anyone can do this, I’m sure of it! I even enjoyed mixing the colors directly on the ribbon. While the paint is still wet, you can layer colors right next to each other and see the beautiful new colors that are created. This step is the most fun for sure! (Pictured below is the packaging of the type of "ribbon" I used so you have it for reference).

2. Now that you’ve painted both sides of your ribbon, hang it somewhere to dry and we’ll move right along to the next step...painting the wooden craft frame. (Pictured below is the back of the pallet wood frame, you can see that it even comes with a stick to prop your frame up on its own) I definitely realize it doesn’t look like my frame is painted but if you could see it in person you’d be able to see its beautiful iridescent shine! I wanted my frame to keep its natural color but also wanted to seal the wood for protection. I considered simply using a clear coat of gel medium, however, the orange tinted iridescent gouache (Jo Sonja's Brand) seemed more enticing. One coat of shine and it’s good to go!

3. Let’s go back and check to see if your ribbon is dry. If so, now is the time to tie it into a bow. It may take a while to get it just right. Now would also be a great time to plug in your hot glue gun to get it ready for use. Once my bow was tied just perfectly, I added some hot glue in the middle of the bow where the ribbons cross to hold it all in place. There’s no way my bow is coming untied! Also, be sure to trim your bow according to your liking!


4. This fourth step is definitely and easy one...hot glue your bow into place on the wooden pallet. I did mine a little off center but you could put yours however you’d like, of course. You’ll also want to go ahead and hot glue your clip into place during this step.

That’s it! All that’s left is to add your favorite photo. The possibilities here are endless...hang a photo with friends, your favorite inspirational quote, a mini art print, a small paper keepsake...just be sure it makes you smile!

This project is extra great because it’s simple and very easily customizable. Plus, you can’t go wrong with anything from our friends at P Graham Dunn! Wouldn't this project be great as a gift as well? In my opinion, handmade gifts are the best. A perfect back to school teacher gift if you ask me!
I really hope you’ve enjoyed this project and can’t wait to see what you create. Be sure to share your creations on social media and tag us: @bethanyjoy_art @pgrahamdunn. We’d love to share!
Oh, and don't forget to use that coupon code for 15% off P Graham Dunn's entire site...just type JOY at checkout, so thankful!
Blessings,
Bethany Joy

*this post was sponsored by P Graham Dunn
*Thankful to be partnered with P Graham Dunn for these fun DIY blog posts!
* Bethany Joy Art is a participant in the Amazon Services LLC Associates Program, an affiliate advertising program designed to provide a means for sites to earn advertising fees by advertising and linking to https://www.amazon.com/shop/bethanyjoy_art

